
WiFi configuration tutorial for each system
1.Configure Wi-Fi with diagnostic tool under Windows
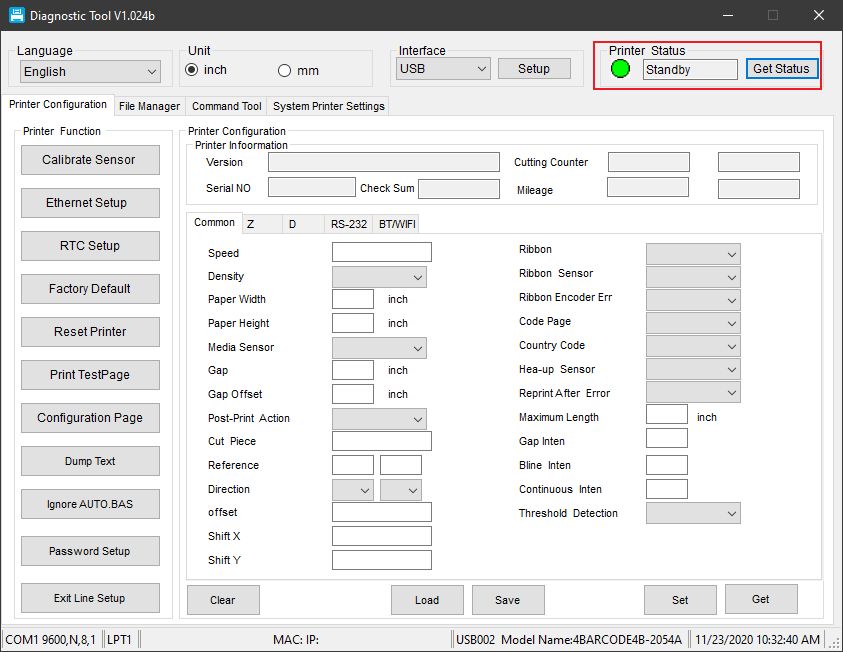
1) Connect the printer to the computer via USB and then turn on the printer’s power.
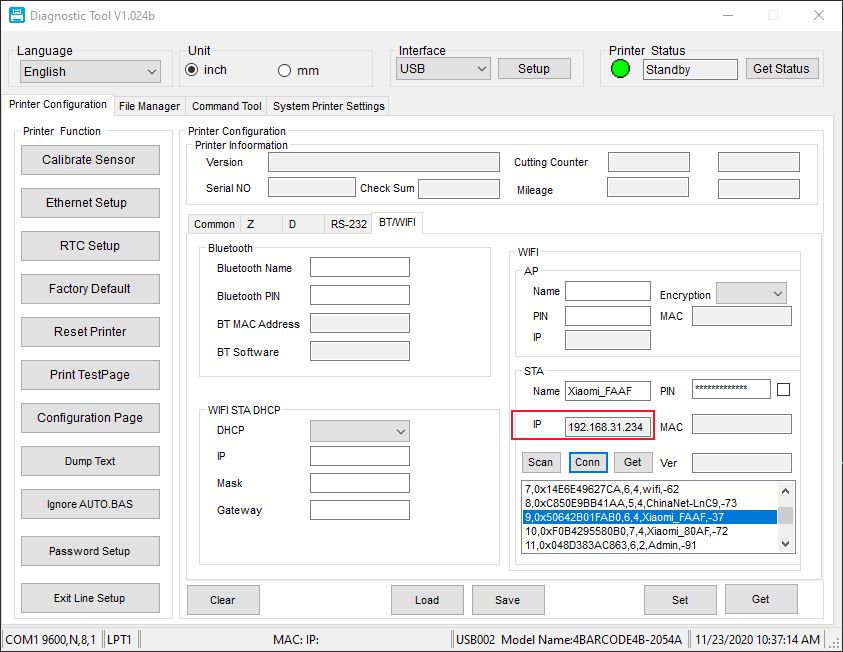
2) Open the “Diagnostic Tool” on your computer and click the “Get Status” in the upper right corner to get the status of
the printer.
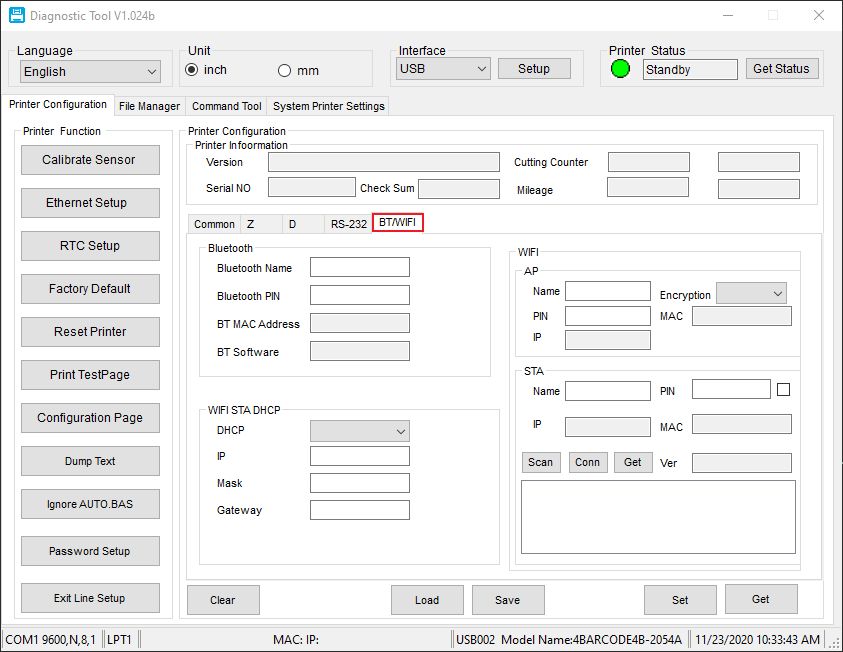
3) Go to the “BT/WIFI” tab as shown in the picture to the configure Wi-Fi of the printer.
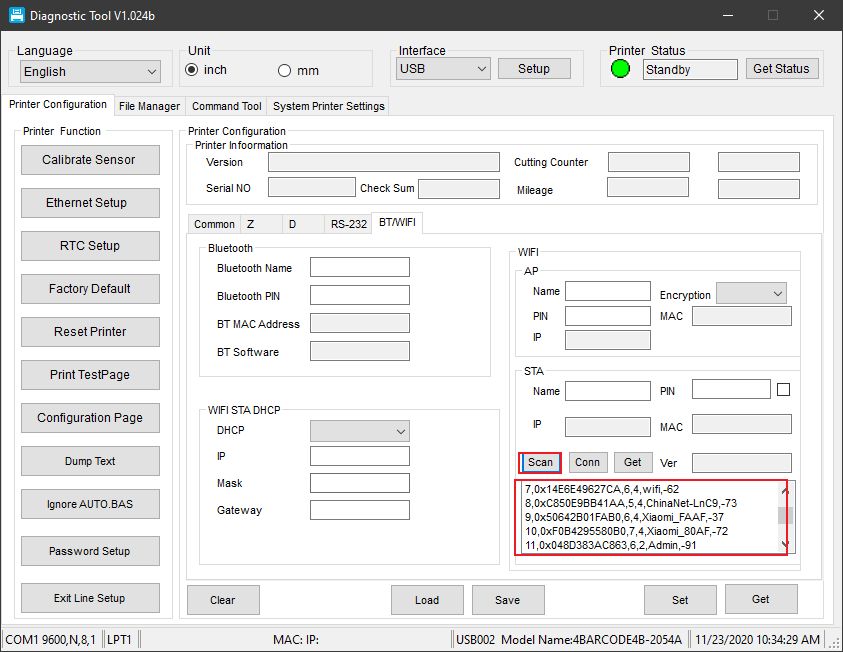
4) Click on “scan” to search Wi-Fi information.
5) Select the corresponding Wi-Fi and enter the password and click “Conn” to connect.
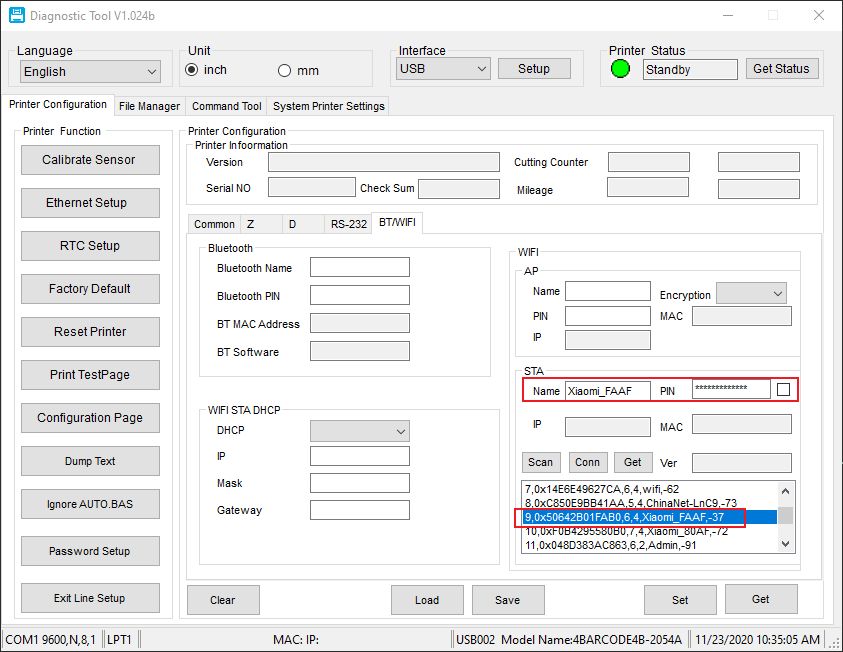
6) The IP address of the printer will be displayed later in the IP box below the diagnostic tool.
2.Configure Wi-Fi interface under Windows
1) Make sure the computer and printer are connected to the same Wi-Fi
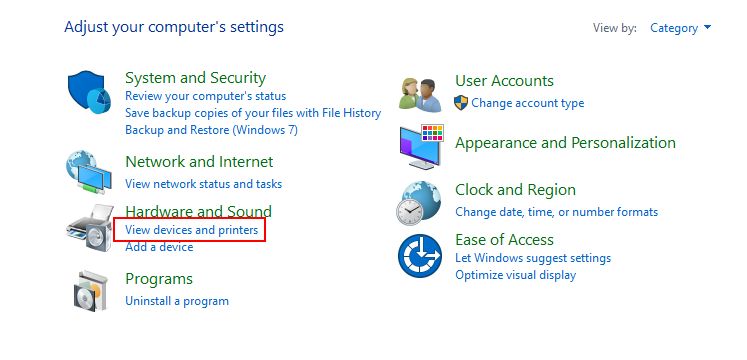
2) Open the “Control Panel” and select “View devices and printers”.
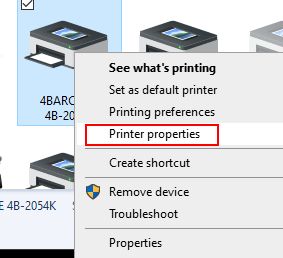
3) Right-click the driver you installed and select “Printer Properties”.
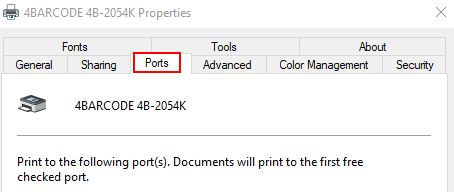
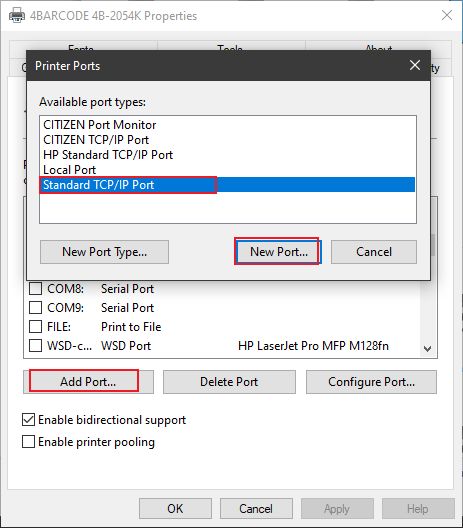
4) Select the “Ports” tab.
5) Click “New Port”, select “Standard TCP/IP Port” from the pop-up tab, and then click “New Port”. “
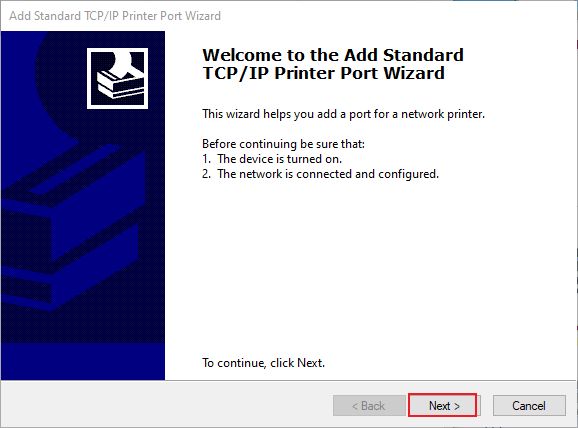
6) Click “Next” to go to the next step.
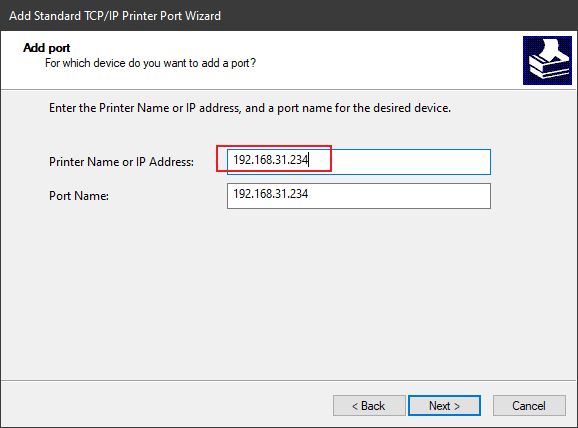
7) Enter the IP address of the printer in the “Printer Name or IP Address” and then click “Next”.
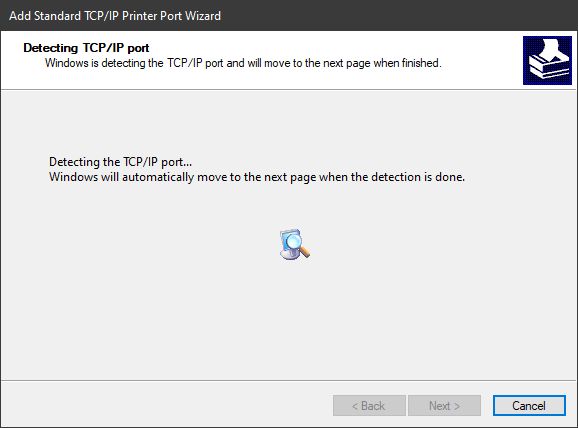
8) Waiting for the detecting
9) Select “Custom” and click Next.
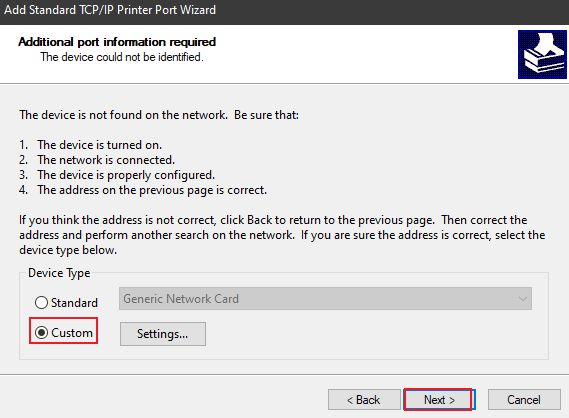
10) Confirm IP address and protocols (the protocol should be “RAW”) are correct and then click “Finish”.
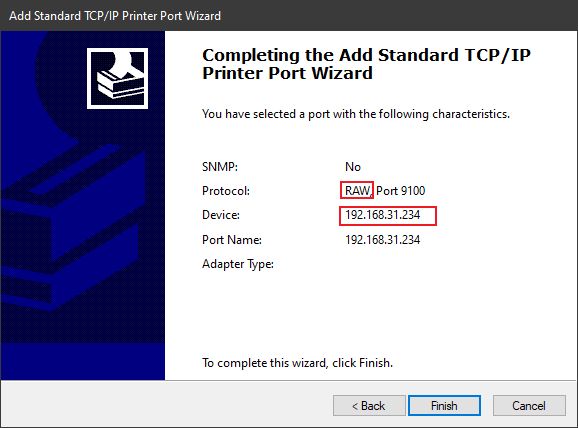
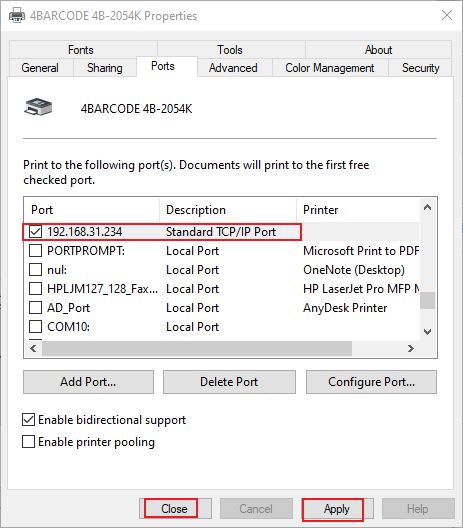
11) Click “Finish” to exit, select the port you just configured, click “Apply” to save and click “Close” to exit.
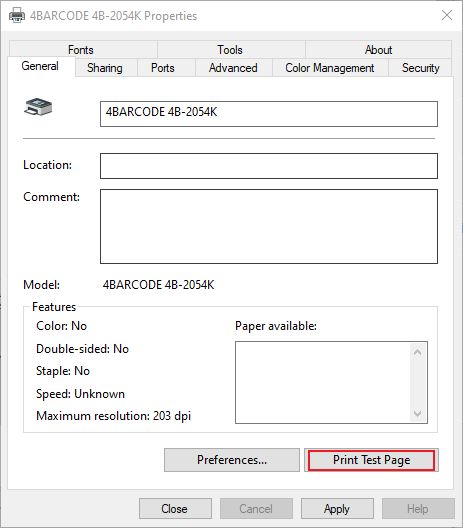
12) Return to the “General” tab and click “Print Test Page” to test if it prints correctly.
3.iOS 4Barlabel installation + setup + print test.
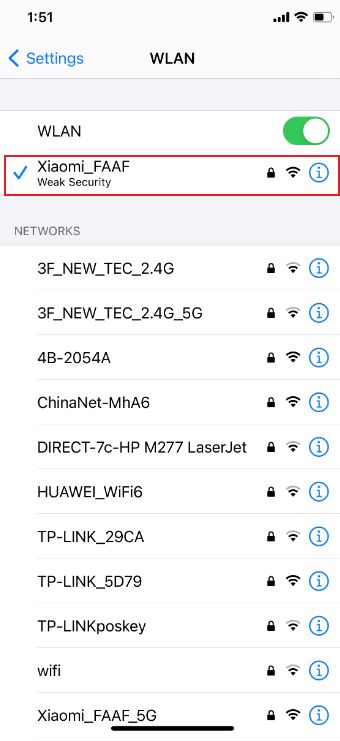
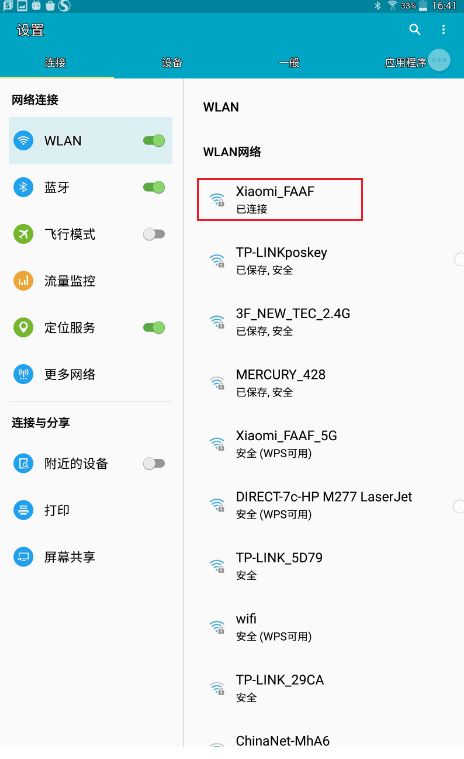
1) Make sure the iPhone and printer are connected to the same Wi-Fi.
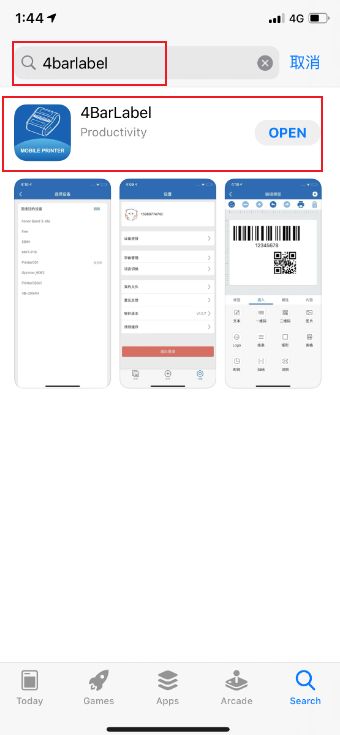
2) Searching for “4Barlabel” in the App Store and download it.
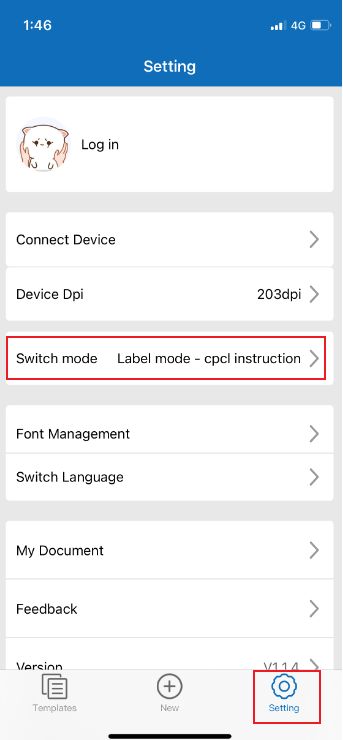
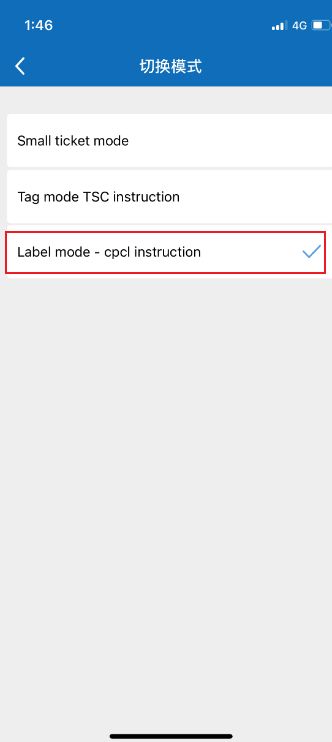
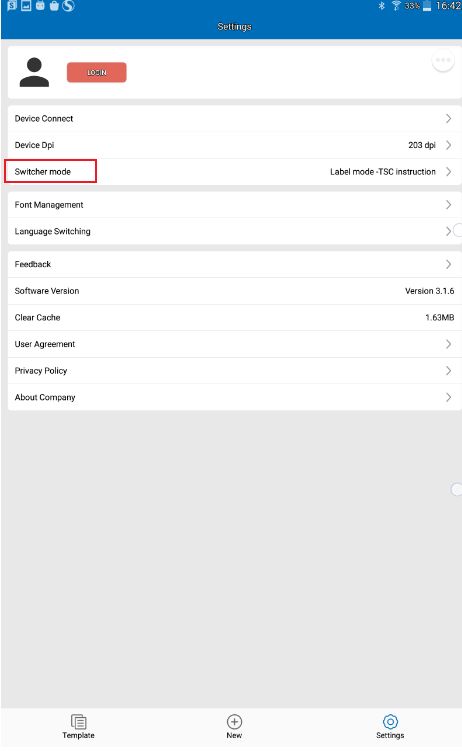
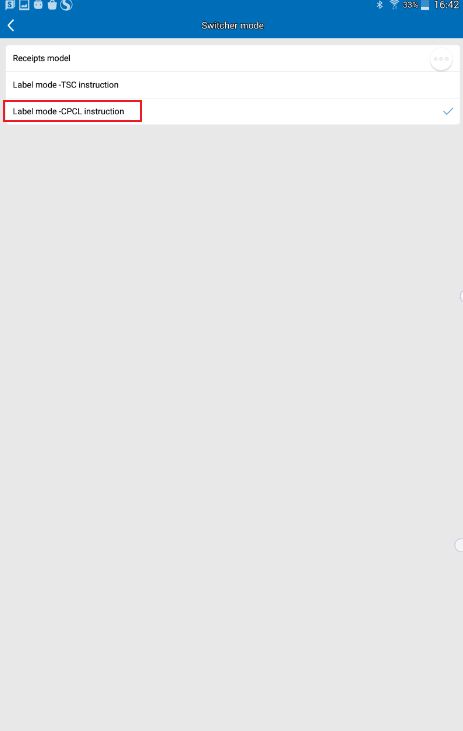
3) In the Settings tab, select Switch Mode and choose” Label mode-cpcl instruction”
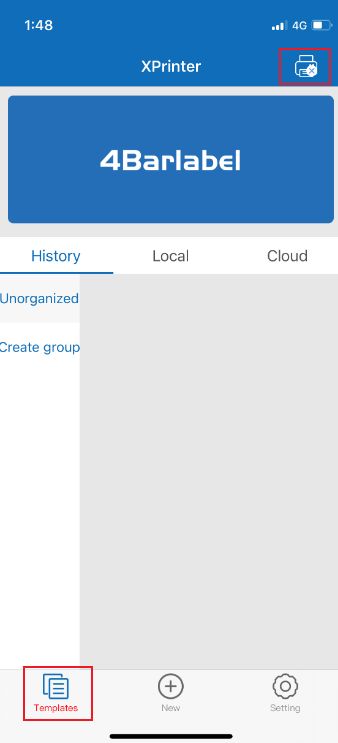
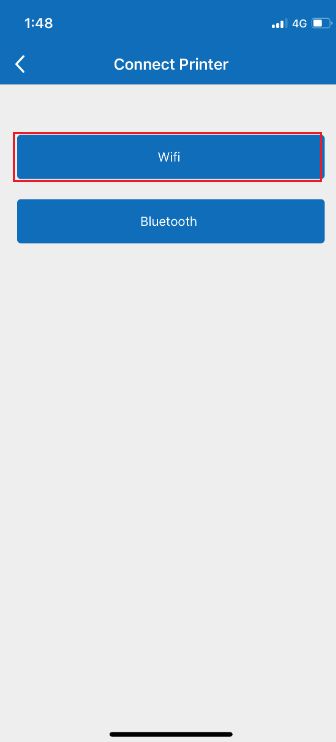
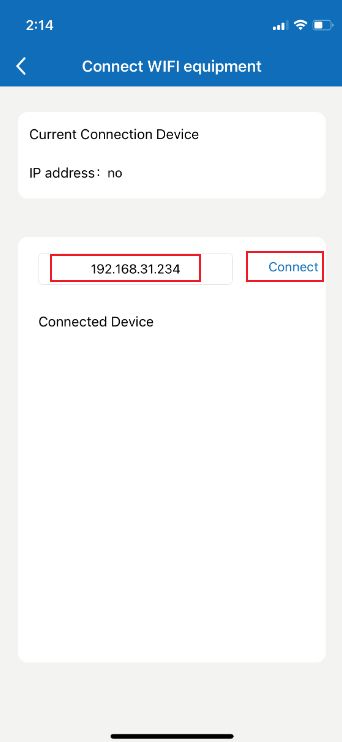
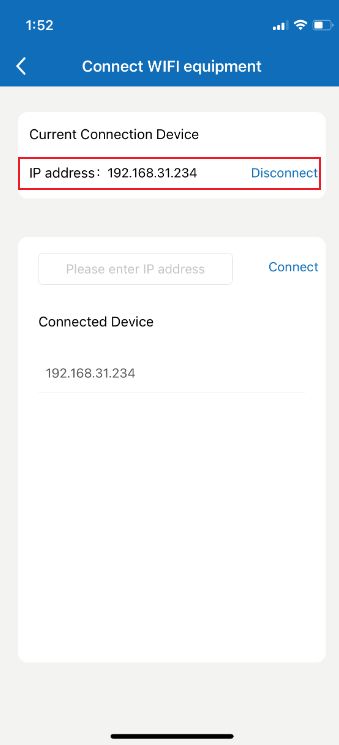
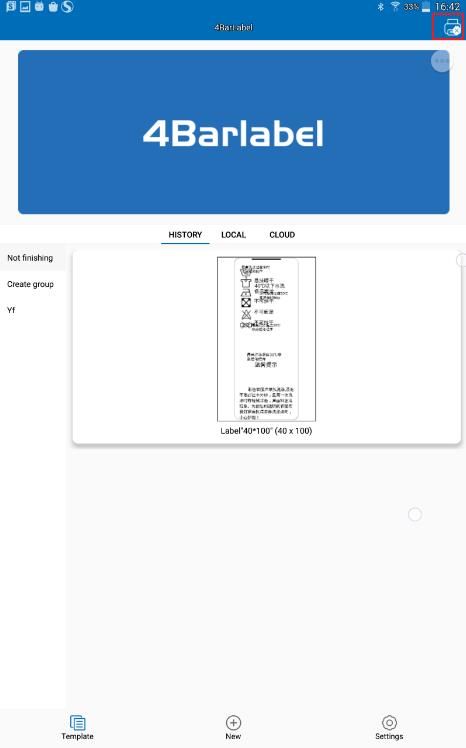
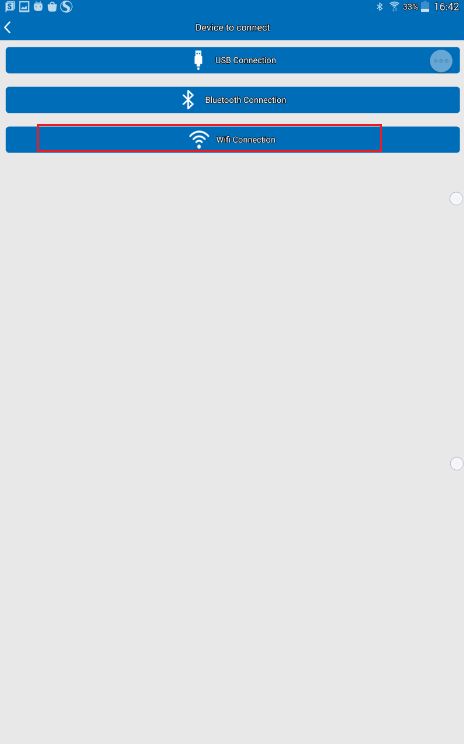
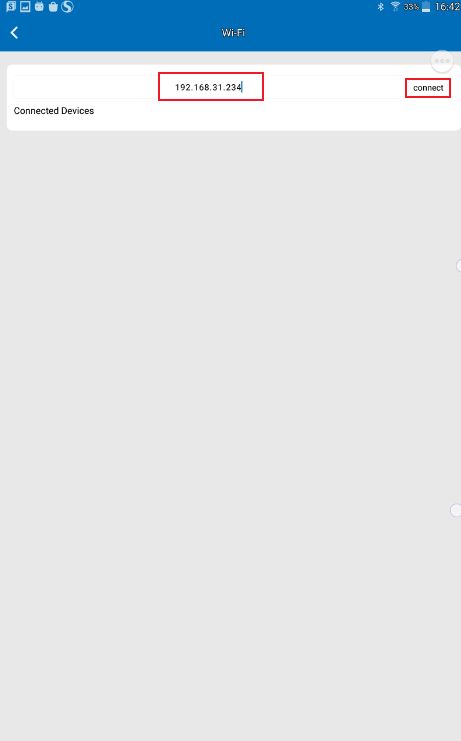
4) Go to the “Templates” tab, click the icon  in the upper left corner, select “Wi-Fi” and enter the IP address of the
printer in the empty box below and click “Connect”.
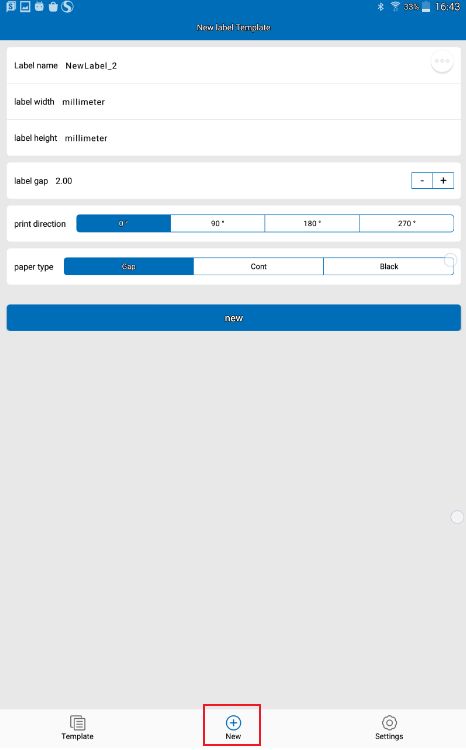
5)Click the “New” tab in the middle to create a new label.
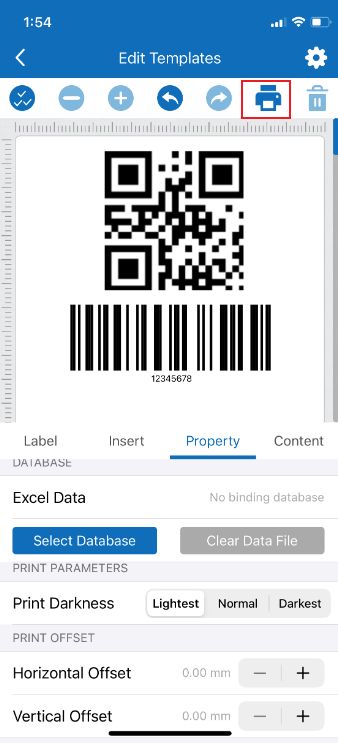
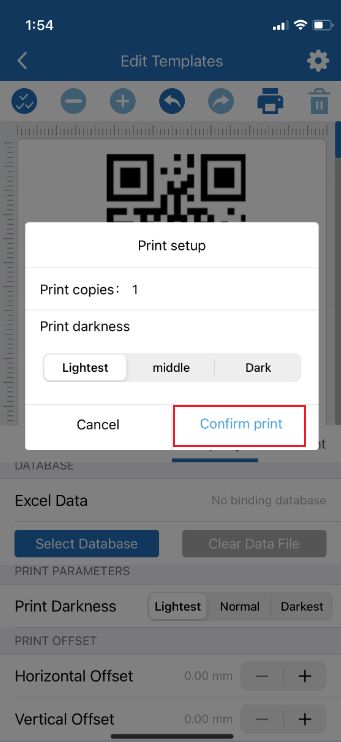
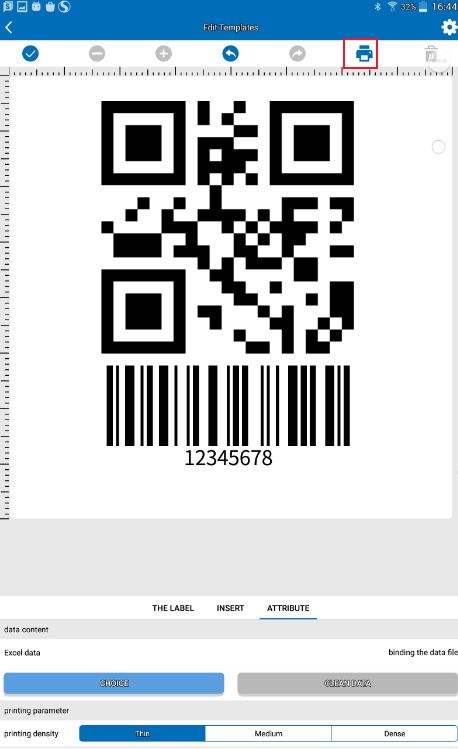
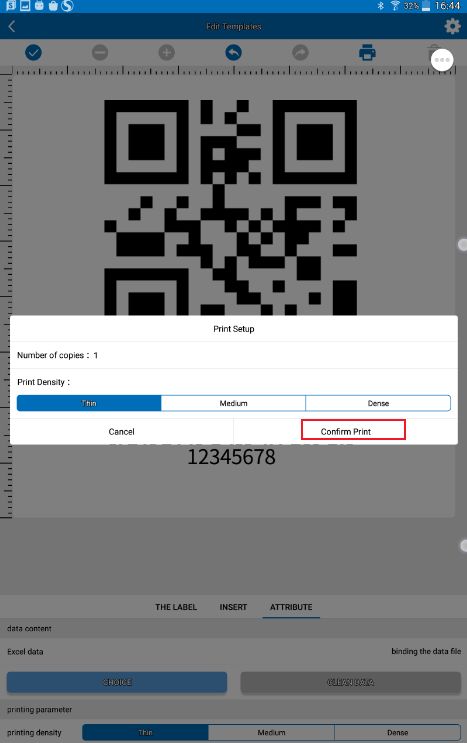
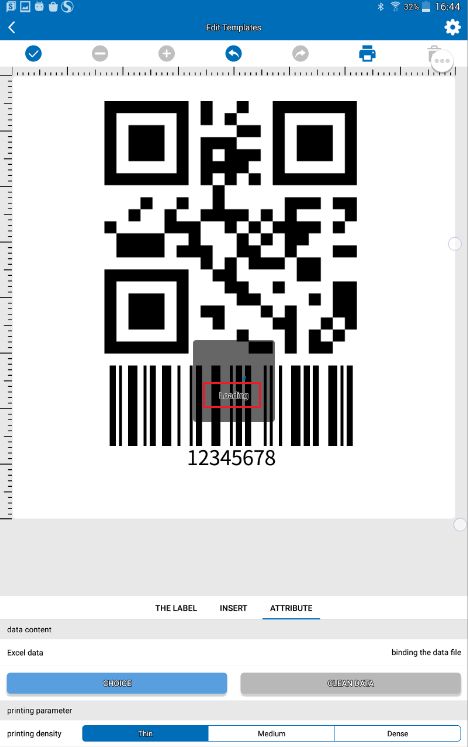
6) After you have created a new label, click the “ ” icon to print.

4. Android 4Barlabel Installation + Setup + Print Test
1)Make sure the android phone and printer are connected to the same Wi-Fi.
2) In the Settings tab, select Switch Mode and choose” Label mode-cpcl instruction”
3) Go to the “Templates” tab, click the icon  in the upper left corner, select “Wi-Fi” and enter the IP address of the
printer in the empty box below and click “Connect”.
4)Click the “New” tab in the middle to create a new label.
5)After you have created a new label, click the “  ” icon to print.
Post time: Nov-07-2022